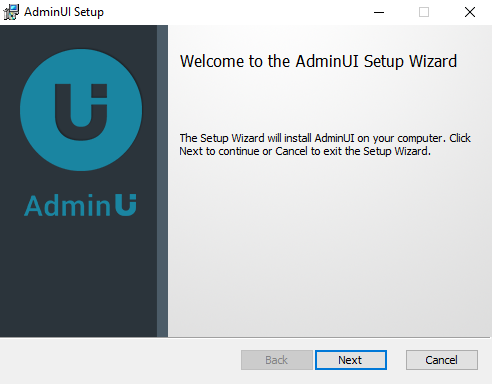
This walkthrough will run through setting up AdminUI using the AdminUI installer.
Prerequisites
Before beginning the installation, please ensure that you have IIS, the .NET Core Windows Server Hosting bundle and .NET Framework 4.7.2 installed.
Installation Types
There are two flows for installation Typical, where we will handle some of the configuration for you, and Advanced, where you can configure all avaliable options.
For first time, or demo, users we recommend using typical installation.

You will then get the option to install our demo IdentityServer example alongside AdminUI, this is recommended for first time demo users looking to get AdminUI up and running quickly.

If you have selected to install our demo IdentityServer example, then you will be asked to select a install location for it. IIS will need permissions to access the files in this location.

Required Configuration
Whether or not you are installing the example IdentityServer, you will need to set the following configuration for AdminUI
-
IdentityServer Authority Url:The URL that your existing IdentityServer is running on, or the URL you want the demo IdentityServer example to run on. -
Database provider:The database provider that you are using, avaliable options are SqlServer, MySql and PostgreSql -
IdentityServer connection string:The connection string to the database containing your IdentityServer configuration, if this database doesnt exist it will be created during the migration step later in the installer. -
Identity Connection string (Optional):An optional connection string for your Identity (users) database. Will default to your IdentityServer connection string.

Audit Configuration (Advanced Only)
Audit configuration, only avaliable during advanced installation.
-
Audit read actions:Whether or not to audit read actions within AdminUI, for example when a user views a client through AdminUI. Defaults to false for typical installation. -
Audit culture:The language that the audit messages are generated in. Defaults to English (en-GB) for typical installation. -
Seperate audit connection string:An optional seperate connection string for storing audit messages. Defaults to your IdentityServer connection string on a typical installation.

AdminUI Installer
The AdminUI installation will then begin.
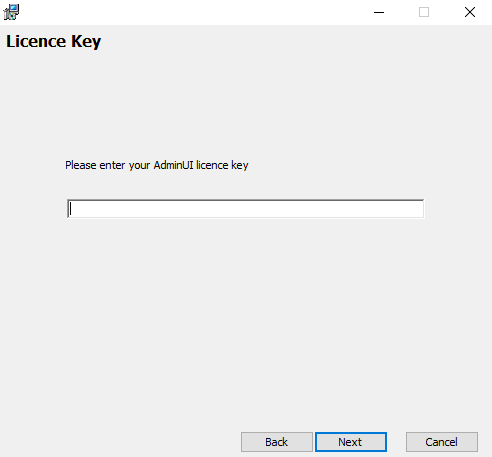
You will need to accept our terms and conditions before continuing.

Enter your AdminUI license key here, if you dont have a license key, you can request a demo from here
You will then need to setup the following settings for the AdminUI IIS sites.
-
AdminUI website url:The URL for the AdminUI UI site, will be added as a binding for the site in IIS -
AdminUI website name:The IIS website name for AdminUI UI site. -
AdminApi website url:The URL for the AdminUI API site, will be added as a binding for the site in IIS -
AdminApi website name:The IIS website name for AdminUI API site.

The install location for AdminUI, IIS will need permissions to access the files in this location.

Configuration for logging within AdminUI
-
Enable logging for the AdminUI API?:Set whether or not to enable logging within AdminUI, enabled by default. -
Folder to output logs to:The location to log to, IIS will need permission to read and write files at this location.

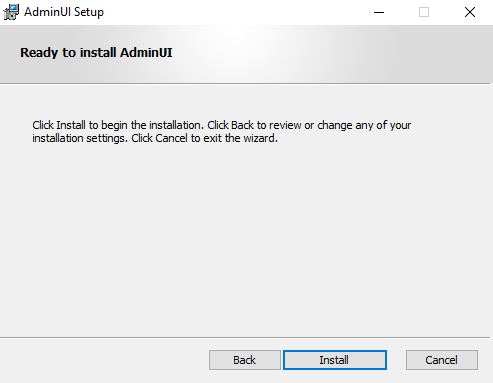
Click install to continue installation
Migrations
Once installation is complete, you will need to migrate your databases, you can configure which databases you want us to migrate for you.
In your connection string, your user as will need to have the appropriate permissions to create and update databases.
Optionally you can also skip migrations at this point and handle migrations yourself, more info on our migrations is avaliable here

If you select the Advanced option here, you can manually set each connection string to change the user you are migrating as.

We will then attempt to run migrations, any errors that occur will appear here for each migration.

If you run migrations you may now need to restart your API site to reconnect to the created databases, and complete the setup of AdminUI.
Installation Complete
Your AdminUI installation should now be complete, you can click one of the below links to navigate to the created sites or to see our documentation.


If you have encounted any issues during installation, dont hesitate to contact us at support@identityserver.com